Science stations are a staple in my classroom and have made the biggest impact on student mastery. I’m a firm believer in student-led learning in any subject, but in science, it is so important that hands-on exploration is part of the learning process. There’s no reason your middle school science curriculum should be boring!
Teacher-led demos are a fantastic tool to get kids engaged about a particular topic, but science station labs allow students to immerse themselves in the topic. They allow students to experience science on their own and then reflect back on their learning. Through this process, the students get to participate in the content.
I’ve always felt that science is one of the most active teaching jobs. Many states require a certain percentage of the curriculum to be hands-on learning and science stations fit the bill very nicely. Once the science stations have been set up one time it is very easy to plug and play new information into the setup. This keeps lab prep times much more manageable and allows the teacher to breathe.
One nice byproduct of station labs is the teacher is able to become the facilitator in the room rather than the direct instructor. This is better for student achievement, and your administration will also love it.
Science station labs can also be easily modified for students with IEP’s or those who need extra help.
I’ve created a massive series of science station labs for the classroom, but this article will focus on how you can set up your own station labs effectively.
Science stations or centers mean something different to many people. The station labs in my room are set up for students to use several different learning styles to explore new information and reflect on their learning.
Science stations are superstars among middle school science activities because they’re truly differentiated learning. I’m sure the word “differentiated” makes your head spin when you start to think about all the different levels of students in your classroom. The centers allow you to present information using many different learning styles.
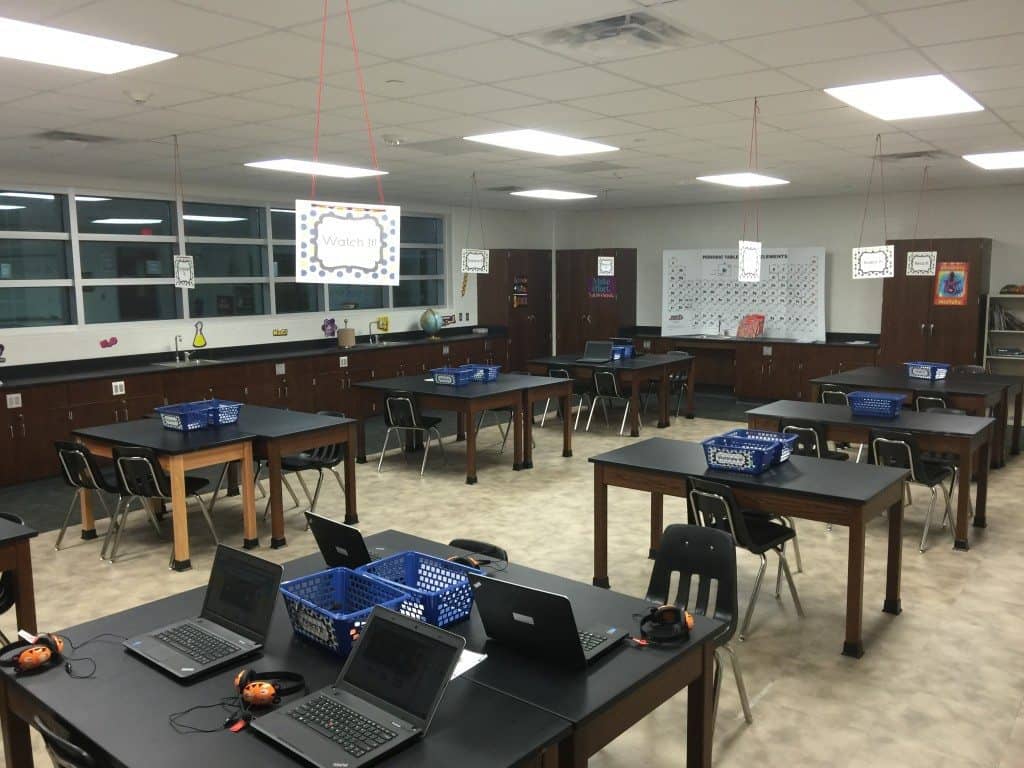
I set up eight different stations around the room. Four of the stations are for exploring new information about the concept, and the other four stations help students to reflect and assess their learning.
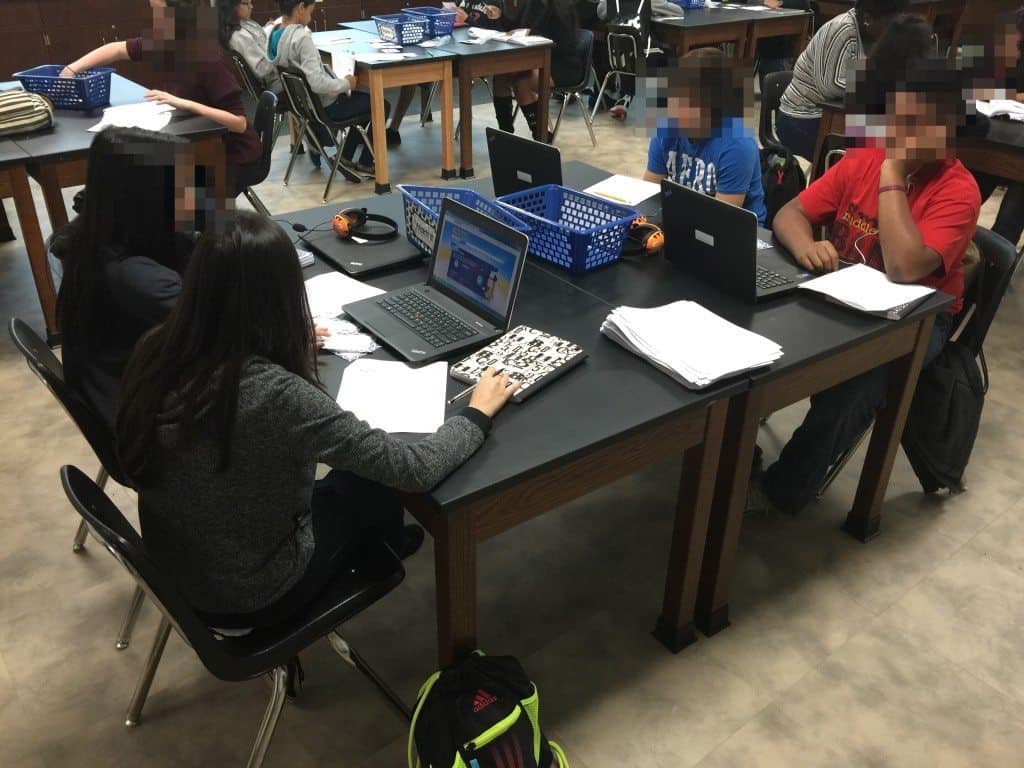
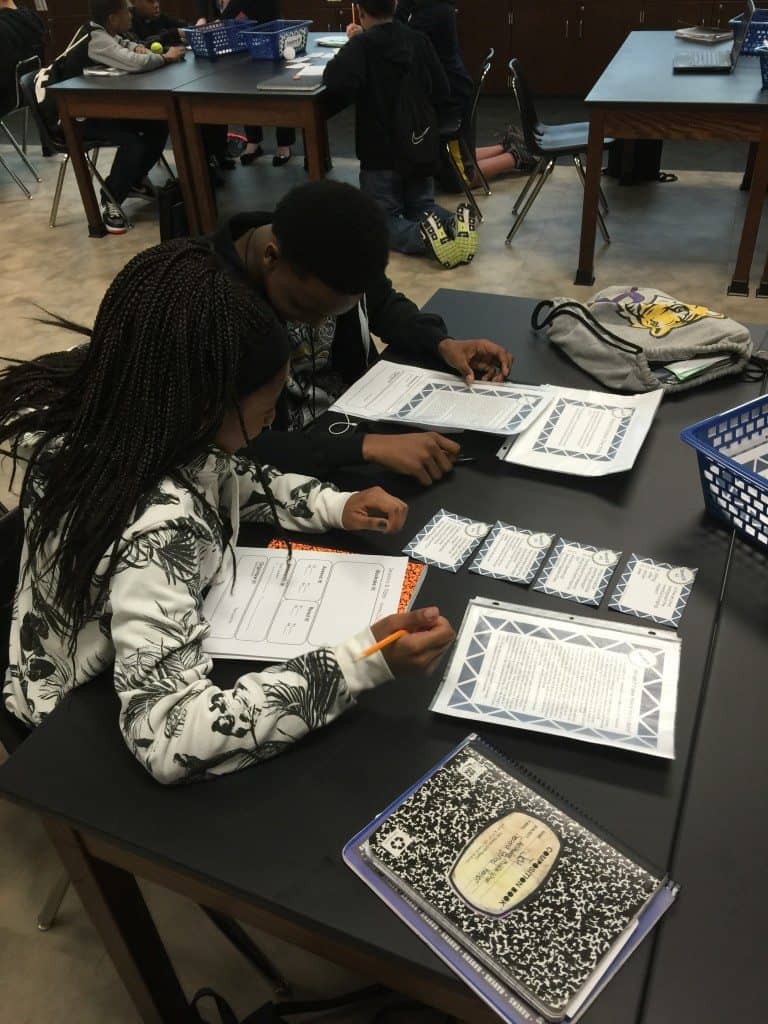
Students will be in groups of 2-3 and will each have a lab sheet that goes with them around the room. The teacher will assume the role of the facilitator and ensure students are on task and understanding the new information rather than feeding it to them.
Each station is set up with a different learning style in mind. This helps to differentiate the content. Below is a list of each of the different stations I use in my class.
Can you see how useful this would be for your classroom?
If you don’t have the time to create them yourself, then take a look at my station lab bundle here. There are over 100 middle school science lessons ready for you to use in your class.
The first time you try this format for the station lab you’re likely going to be nervous. Is this going to work? Are kids going to get it? This next section will address all of those fears and will set you on the path to having a great experience with the station labs.
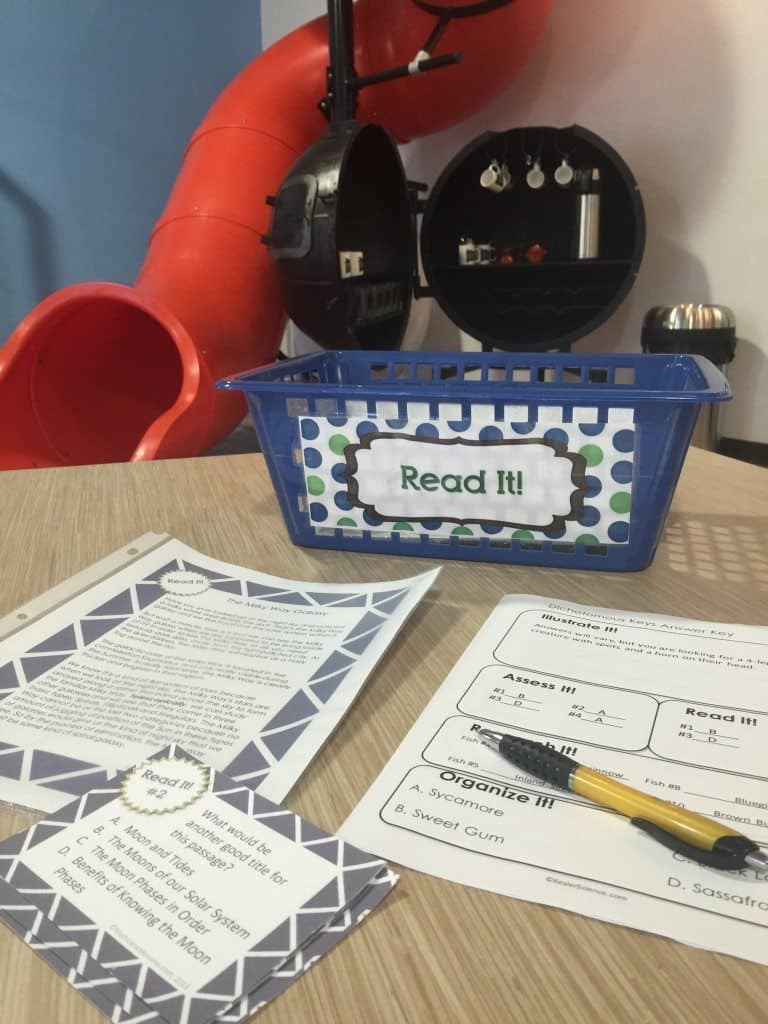
At each station, I use small baskets that contain all of the cards (instructions for the station) and any materials that are needed. You can download all of my signage for free. This format makes it very easy for students to understand. It also makes it very easy for the teacher to clean up and set up the next station lab.
I highly suggest requiring each student to turn in a lab sheet to ensure everyone is working on something within the group. I allow them to work in groups of 2-3, but have found that 4 is just too many for a group. I would also highly encourage you to choose the lab groups. This is a far more effective method for quality work.
In my classes I allowed students to move to the next available station when they finished a station. This stops a lot of the nonsense that comes with downtime and generally speaking there will be different time requirements at each lab station. I had 45 minute class periods, and most students were able to complete a lab in that time period.
What about classes that have 30+ students in them? There’s a simple solution to that. You need to double and even triple up the stations. If you were really ambitious you could double every station, but I only duplicated, or even triplicated, the input stations. I would highly suggest having students start off at the input stations. These are the stations that new information is gained. It doesn’t make sense for students to start with the output stations if they don’t know anything yet.
My paraprofessionals who worked with students with modifications loved the station labs because they could easily modify the assignment. I would typically have them do the Explore, Research, Watch and Assess stations, but you could do any combination of input/output you wanted.
Students aren’t going to need much help with the station labs if they are set up properly, but I always found it most effective to hangout by the Explore and Organize stations (put those two together). At the explore station you can help students to process new information and at the organize station you can visually determine if they understand the content.
Don’t think technology is a requirement for this type of lab setup. You could easily substitute textbooks or supplemental materials at these stations. Don’t forget you likely have a SMARTboard or teacher computer that could be used for one of the stations.
At the technology stations make sure the students leave the webpage up that is required for that station. You will save a lot of time if each student doesn’t have to go to a new webpage every time. Also, use URL shorteners like bit.ly to shorten long website names. These are generally case-sensitive and you would want to note that to your classes.
The reading passages don’t have to suck! I always try to write or pick a passage that is relevant to the topic, but it doesn’t have specific and factual information about that concept. What would be engaging to students?
I required the write it stations to be done in complete sentences. This is an area that you can modify, but middle school students really need practice in this area.
I know you’re probably thinking about grading a stack of lab write-ups but this doesn’t have to be a difficult process. The goal for students is mastery of a particular piece of content. I can easily verify this by grading only the Read, Assess, and Illustrate section. I know immediately if the concept was obtained.
What about students that eventually figure out that you only grade a few sections? Don’t let them see behind the curtain and change up your grading! My point is this doesn’t have to be a difficult 5-hour job. Make it easy on yourself.
Those students that didn’t perform well on the lab can easily be identified and are ideal candidates for extra help or tutoring.
Many schools are now 1:1 which is why I include a digital student answer document in all the station labs I create. They are great for a remote learning environment and absent students, but they can also be used as a supplement to the paper answer documents in your classes.
I even include some different formats to make loading them into Google Classroom a breeze. In my lessons, you’ll find the following elements to help you teach in a distance learning or digital environment.
Setting up science stations is something that you could do by yourself, but if time is a concern I’ve done all of the work for you.
As part of my middle school science curriculum, I’ve created 100+ science station labs that cover a huge variety of common science concepts. You can buy each lab individually, as a unit bundle, or save significantly when you purchase the entire bundle of activities.